What is the Testimonial Marquee Widget?
A Testimonial Marquee Widget is an Elementor widget that showcases customer reviews in a continuous scrolling loop. It’s a dynamic way to display social proof and build instant credibility with visitors
Common use case for the Testimonial Marquee
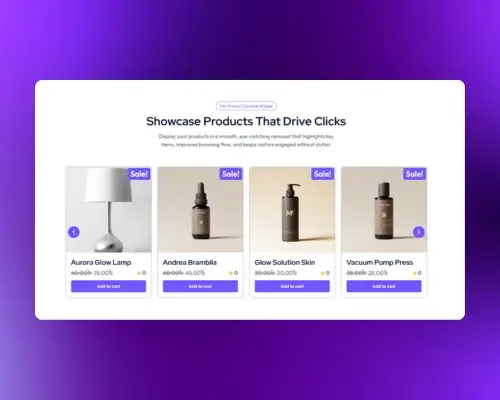
A common use case for the Testimonial Marquee widget is to create a dynamic banner of customer reviews on a homepage or a landing page. By placing this widget in a prominent area, you can immediately present new visitors with a continuously scrolling display of positive feedback. This helps to build social proof and establish credibility right from the moment they arrive, encouraging them to explore your products or services further.
Additional use cases
- Product pages: Display testimonials from customers who have purchased a specific product.
- Service pages: Showcase reviews from clients who have used a particular service.
- About Us page: Feature a curated selection of testimonials to highlight the company’s reputation and values.
- Case study pages: Add a marquee of testimonials that directly relates to the project being discussed.
Requirements
- You need the Marquee Addons and Marquee Addons Pro plugin installed and activated on your website.
- You can find detailed installation instructions in our dedicated Testimonial Marquee installation guide.
- Make sure that this addon is enabled so you can find it in the Elementor editor.
- Marquee Addons Pro works only with the Elementor Page Builder plugin, so you will need to have it installed and activated as well.
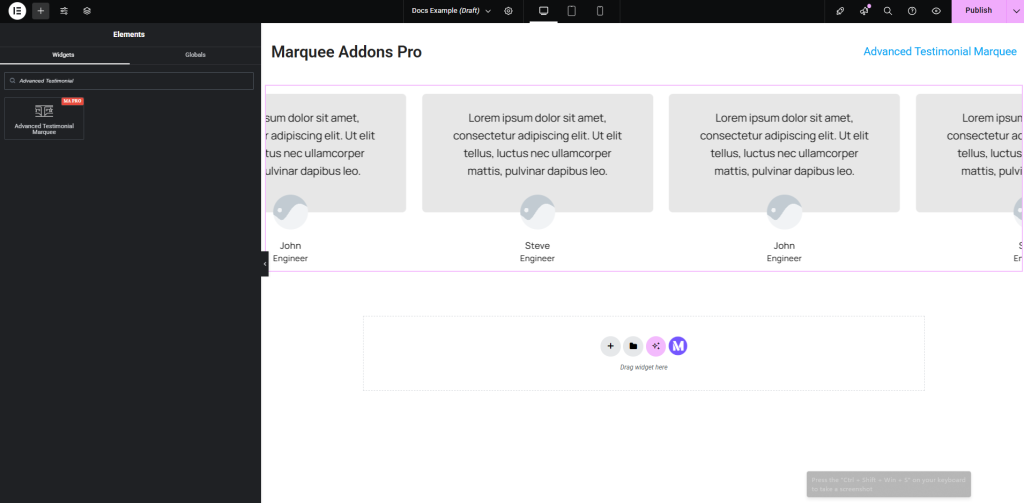
Add the widget
To add the powerful Testimonial Marquee widget to your Elementor-powered website, follow these simple steps:
- Navigate to the Elementor editor.
- Search for the Text Marquee widget.
- Drag the widget to your desired location on the page.
Video Tutorial for Testimonial Marquee widget
See a video demonstrating the widget in action.
Settings for the Testimonial Marquee widget
Our Testimonial Marquee widget offers extensive customization options categorized into three main tabs: Content, Style, and Advanced.
Content tab
Layout: Choose how your cards display in Elementor—Carousel or Marquee—and fine-tune spacing, speed, and direction. For the full walkthrough, read :
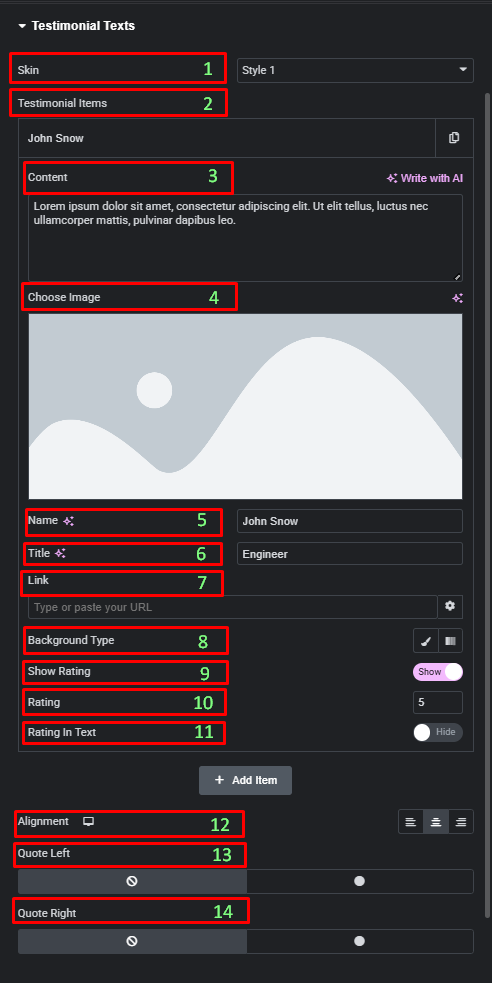
Testimonial Texts:
- Skin: Select the testimonial style from the available dropdown options.
- Testimonial Items: Use this repeater field to add and manage the individual testimonial items. Click “Add Item” to include more.
- Content: Enter the testimonial text.
- Choose Image: Upload an image for the testimonial author.
- Name: Enter the name of the person giving the testimonial.
- Title: Enter the person’s title or company name.
- Link: Add a link to the testimonial source, if applicable.
- Background Type: Set a background for the testimonial box.
- Show Rating: Toggle to show or hide a star rating.
- Rating: et the star rating value for the related testimonial.
- Rating in Text: Toggle to show or hide the rating as text.
- Alignment: Set the horizontal alignment for the testimonial text.
- Quote Left: Toggles to show/hide quotation marks.
- Quote Right: Toggles to show/hide quotation marks.
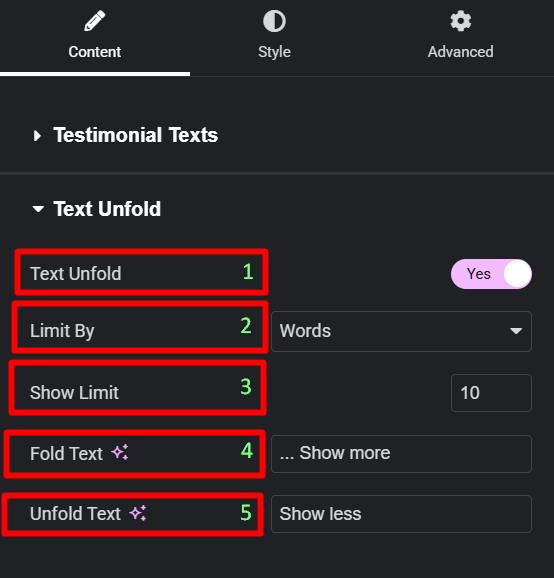
Text Unfold:
- Text Unfold: Toggle this option to enable or disable the “Read More” button for longer testimonials.
- Limit By: Choose to limit the text by either Words or Characters.
- Show Limit: Set the number of words or characters to display before the text is folded.
- Fold Text: Customize the text for the “Show more” button.
- Unfold Text: Customize the text for the “Show less” button.
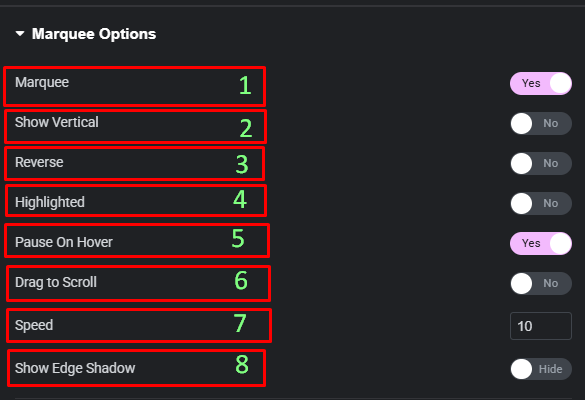
Marquee Options:
- Marquee: A toggle to enable or disable the continuous scrolling animation.
- Show Vertical: Enable this for vertical scrolling instead of horizontal.
- Reverse: Change the direction of the animation.
- Highlighted: Toggle to add a highlighted background effect to the marquee.
- Pause On Hover: When a user’s mouse hovers over the widget, the animation will stop.
- Drag to Scroll: Enable this option to allow users to drag the marquee to scroll.
- Speed: Control the speed of the scrolling animation.
- Show Edge Shadow: Add a subtle shadow effect on the edges of the marquee.
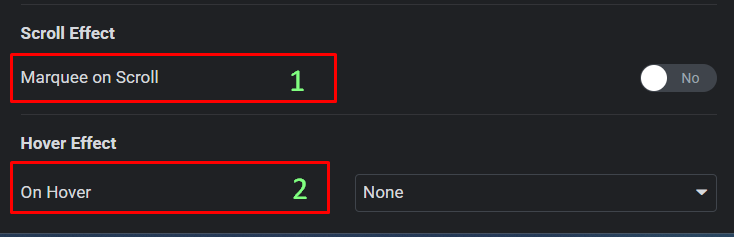
Scroll Effect (Pro Feature):
- Marquee on Scroll: Toggle this option to enable a scroll-based marquee effect. When this is on, the continuous
Animationwill be disabled, and the speed will be controlled by the user’s scroll. - On Hover: Choose an animation effect (e.g., Zoom In, Rotate, Tilt, Bounce) that appears when the user hovers over the testimonial card.
Style tab
Box:
- Background Type: Set the background color or image for the testimonial box.
- Overlay Color: Apply a color overlay on top of the selected background for visual enhancement.
- Box Gap: Adjust the spacing between testimonial items.
- Padding: Set the padding inside the testimonial box.
- Border Type: Add a border to the box.
- Border Radius: Adjust the corner radius of the box.

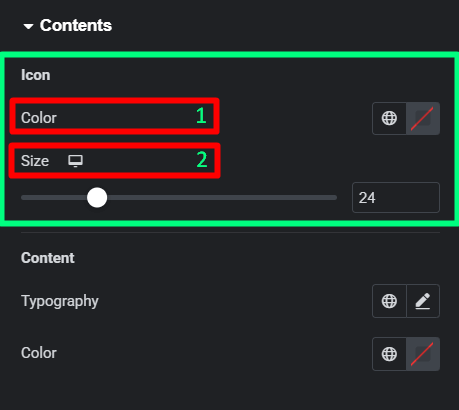
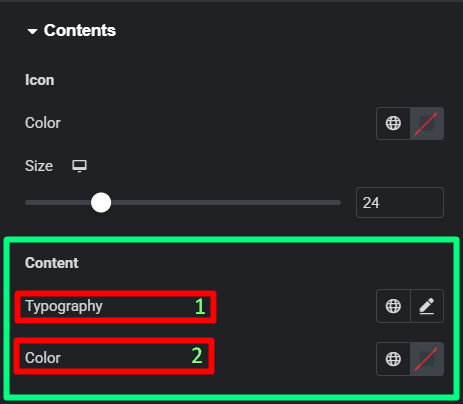
Contents:
- Icon:
- Color: Set the color of the quote icon.
- Size: Adjust the size of the quote icon.
- Content:
- Typography: Customize the typography for the testimonial content.
- Color: Set the text color.
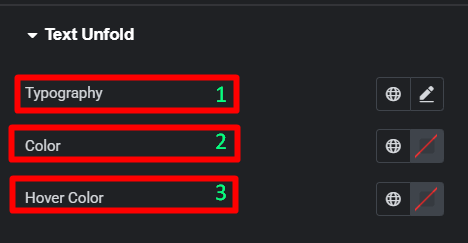
Text Unfold:
- Typography: Customize the typography of the “Read More” button.
- Color: Set the default color of the button.
- Hover Color: Set the color of the button on hover.
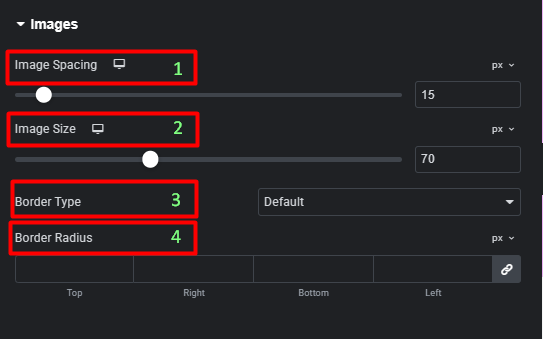
Images:
- Image Spacing: Set the spacing between the image and the testimonial content.
- Image Size: Set the size of the testimonial image.
- Border Type: Add a border to the image.
- Border Radius: Adjust the corner radius of the image.
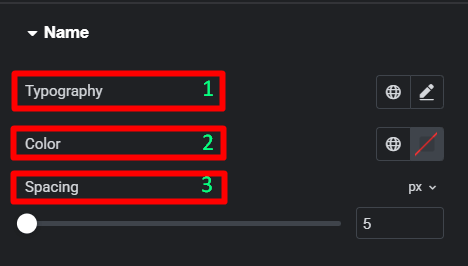
Name:
- Typography: Customize the typography for the name.
- Color: Set the text color.
- Spacing: Set the spacing below the name.
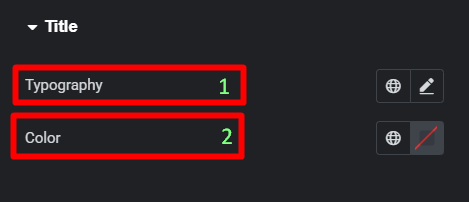
Title:
- Typography: Customize the typography for the title.
- Color: Set the text color.
Review:
- Icon:
- Spacing: Set the spacing between the stars.
- Size: Set the size of the star icons.
- Color: Set the color of the star icons.
- Unmark Color: Set the color of the unselected stars.
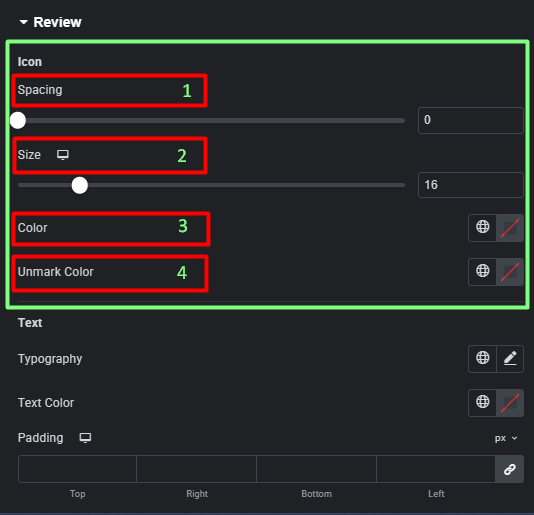
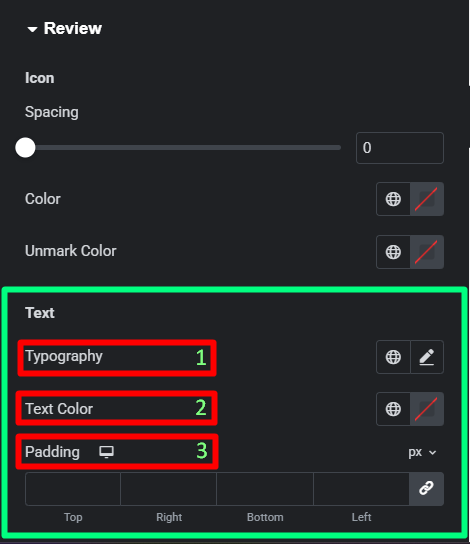
- Text:
- Typography: Customize the typography for the review text.
- Text Color: Set the text color.
- Padding: Adjust the padding around the review text.
Advanced tab
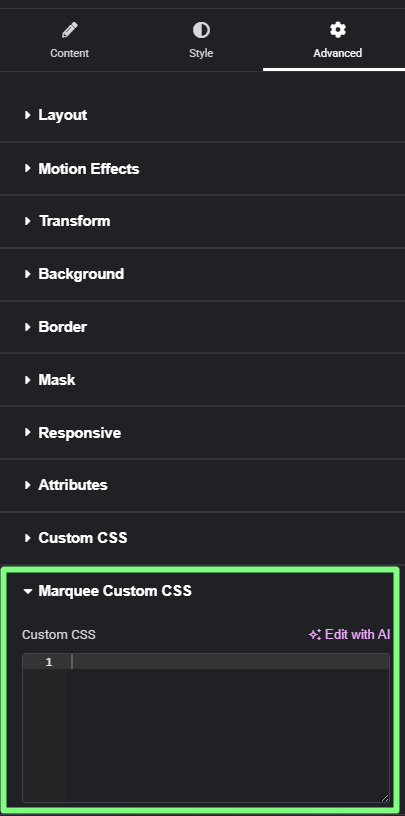
The Advanced tab provides a comprehensive set of controls that are common to most Elementor widgets, allowing for refined design and responsiveness. Here you can adjust the widget’s Layout (e.g., positioning, Z-index), apply engaging Motion Effects (like scrolling effects or entrance animations), customize its Background, add Borders and Box Shadows, apply Masks for unique shapes, control Responsive visibility across devices, add custom HTML Attributes, and inject Custom CSS for bespoke styling.
Frequently Asked Questions (FAQ)
Can I change the direction of the scrolling testimonials?
Yes. In the Marquee Options section of the Content tab, you can use the Reverse control to change the scrolling direction.
How do I control the speed of the testimonial marquee?
The scrolling speed can be adjusted in the Content tab. Within the Marquee Options, you will find a Speed control that allows you to set how fast or slow the testimonials move across the screen.
Is it possible to stop the marquee animation when a user hovers over it?
Yes, simply enable the Pause On Hover option in the Marquee Options section of the Content tab.